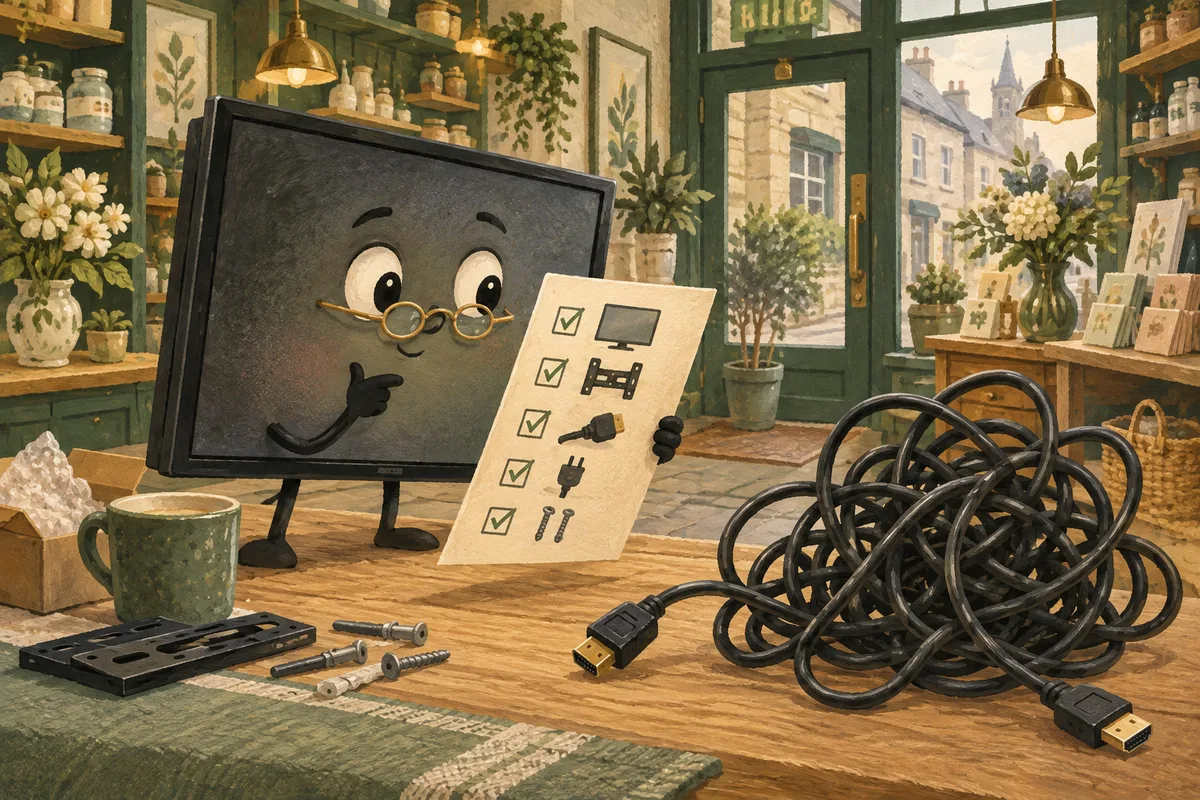
To set up digital signage, choose one useful message, check your screen and player compatibility, connect reliable power and internet, publish a short test playlist, then verify the physical display. Start with one screen before copying the setup across your business.
A television on the wall is the easy part. The useful part is getting the right information onto it, at the right time, without asking the busiest person in the building to become a cable detective. This guide takes a small business from its first idea to a repeatable launch checklist. The examples are practical planning examples, not promises about a particular device or software subscription. Confirm supported equipment and features before buying anything.
1. Give the first screen one job
Write a sentence that describes what somebody should understand or do after seeing the display. A café might want customers to notice the lunch combination before ordering. A shop might want visitors to find a new collection. A reception team might want guests to locate the correct meeting room. Each goal suggests different content, placement and measures of success.
Avoid starting with a list of everything the business could possibly say. Your screen is not an annual report with a plug. Put the most valuable message first and remove information that belongs somewhere else. If the goal is clearer ordering, a menu with readable names and prices is more useful than an elaborate animation of your logo.
- Audience: who is likely to see this screen?
- Moment: are they walking, waiting or making a decision?
- Message: what is the single important point?
- Action: what can they realistically do next?
- Evidence: what would tell you the display helped?
Keep this brief beside the project. It makes later design decisions faster and gives colleagues a fair way to reject clutter without debating personal taste.
2. Inspect the location before choosing equipment
Stand where the audience will stand. Look towards the proposed screen in daylight and after dark. Check reflections, viewing angles, nearby signs, furniture and queues. A display that looks excellent from directly underneath may be unreadable from the doorway. Photograph the location from the normal viewing position and mark the intended screen area.
Record the available power outlet, network connection, mounting surface and space for a player. Leave room for ventilation and maintenance. Ask a qualified installer about mounting where appropriate; the marketing team should not improvise structural fixings between social posts. Keep cables away from walkways and avoid hiding the only accessible power switch behind an immovable cabinet.
Decide whether portrait or landscape suits the message and the space. Portrait can suit a narrow window promotion; landscape can suit a menu above a counter. Confirm that the screen and mount support the intended orientation. A physically rotated display is not automatically a supported installation. Also check operating-hour ratings against how long you expect the screen to run each day.
3. Separate the screen, player and management software
The screen displays the picture. The player runs the content. The management software organises what the player should show. Sometimes the player is built into a supported display; sometimes it is a separate device connected through HDMI. Knowing which part does what makes purchasing and troubleshooting much less mysterious.
Check the exact model and software version against your provider's supported-device information. A familiar brand name is insufficient: two devices that look identical can run different operating systems. Confirm how the player starts after a power interruption, how updates work and which media formats it accepts. Ask whether content can continue during a network outage, and what must be downloaded in advance.
Do not assume that a web browser, consumer streaming app or USB slideshow provides the same management features as a supported signage player. Those options may meet a very simple need, but remote updates, scheduling and monitoring require a deliberate setup. Our player selection guide includes a practical compatibility test you can use before ordering multiple units.
4. Prepare a small, realistic content pack
Create three pieces of content for the pilot: the main message, one supporting message and a safe fallback. Use the display's actual aspect ratio. Export a clear still image first, then add video only where motion helps explain something. A sharp product photograph and a short headline often communicate faster than a busy template.
The fallback should remain useful when a campaign ends or an update is delayed. Opening information or an evergreen brand message may work; a dated discount usually will not. Give every file a readable name, such as reception-welcome-landscape-v03, so somebody else can identify it without opening twenty thumbnails.
Keep original artwork separate from approved exports. Note the owner and review date in a simple content register. Check that you have permission to use photographs, illustrations and music before publishing them. For silent public displays, make the message understandable without sound. If a video contains essential speech, include readable captions in the content rather than hoping visitors can hear it across the room.
5. Connect and publish in a controlled order
- Connect the supported player to the correct display input.
- Connect its approved power supply and network connection.
- Complete the provider's pairing or registration process.
- Name the screen using its location and purpose.
- Upload the approved test content and check the preview.
- Assign the playlist or schedule to the intended screen.
- Publish using the software's documented process.
- Look at the physical screen and confirm what actually appears.
Uploading a file and assigning it to a screen are not necessarily the same action. Nor does a successful preview prove that a player has received the latest version. Leave enough time for the download to complete and check the correct device. A clear naming system prevents the awkward moment when a stockroom test message makes its debut in the shop window.
Record the first successful configuration, including orientation, resolution, player model and network method. Store account recovery details through your organisation's secure process, never in a public setup document. Give colleagues the access they need without sharing one administrator password around the building.
6. Run the tests that a dashboard cannot replace
Observe a full playlist cycle from the audience position. Can you read each message before it changes? Do prices or important details disappear too quickly? Are images cropped unexpectedly? Check the first transition as carefully as later ones; a blank moment at the start can be missed in a quick preview.
With an agreed maintenance window, test a normal restart and a temporary loss of connectivity. Record exactly what happens. A player might continue cached media yet fail to load an online page; those are different behaviours. Restore the connection and confirm that pending content arrives. Never run interruption tests during a critical service period.
Ask a colleague who did not design the content to describe the message after a brief glance. Their answer is more useful than asking whether they like the colour. If they remember the background but miss the offer, simplify the slide. If nobody notices the screen, investigate placement and contrast before adding more movement.
7. Make the first week easy to manage
Assign one content owner and a backup. Set a short review routine: check the screen when opening, remove expired messages, verify any changed prices and note recurring faults. Keep a simple incident record with time, symptom, affected screen and resolution. Patterns become easier to spot when reports say more than “the TV did a thing”.
Choose a modest outcome to review after the pilot. You might compare repeated direction questions, observe whether customers notice a featured product, or count how often staff need to correct outdated information. These observations are not proof that signage alone caused a sales change, but they can reveal whether the setup solves its intended problem.
Only expand after the first screen works reliably. Reuse the configuration that passed your tests, while checking each new location independently. Different sunlight, Wi-Fi conditions and audience behaviour can require different settings even within the same building. See the multi-location guide when the rollout grows.
Frequently asked questions
Can I use a television I already own?
Possibly. Check its inputs, operating-hour rating, mounting arrangement and compatibility with a supported player. Test the exact television and player together before committing. An existing screen can reduce initial cost, but unreliable power behaviour or poor readability may make another display more suitable.
Does digital signage need internet all the time?
That depends on the player and content. Some systems can play downloaded files while offline, whereas live websites and remote updates need connectivity. Ask your provider and test your actual playlist. Do not treat an offline capability statement as a guarantee that every content type works offline.
What should I put on the first screen?
Start with one message that helps the audience at that location: an ordering choice, a direction or a useful announcement. Add a supporting message and a safe fallback. Expand only when the first version is readable and useful; additional slides can reduce how often the main message appears.
How do I know the update really worked?
Check the physical display, preferably with a person at the location or an authorised screenshot feature if your system provides one. Compare the visible content with the approved version and observe the full loop. A completed upload alone does not confirm correct assignment or playback.
Where should a small business begin with DigiDisplay?
Review the current plans, list the screens and player models you intend to use, and ask about compatibility for your proposed setup. Bring a sample image or video and your opening hours. A specific pilot brief makes it easier to confirm what is needed before a larger rollout.